

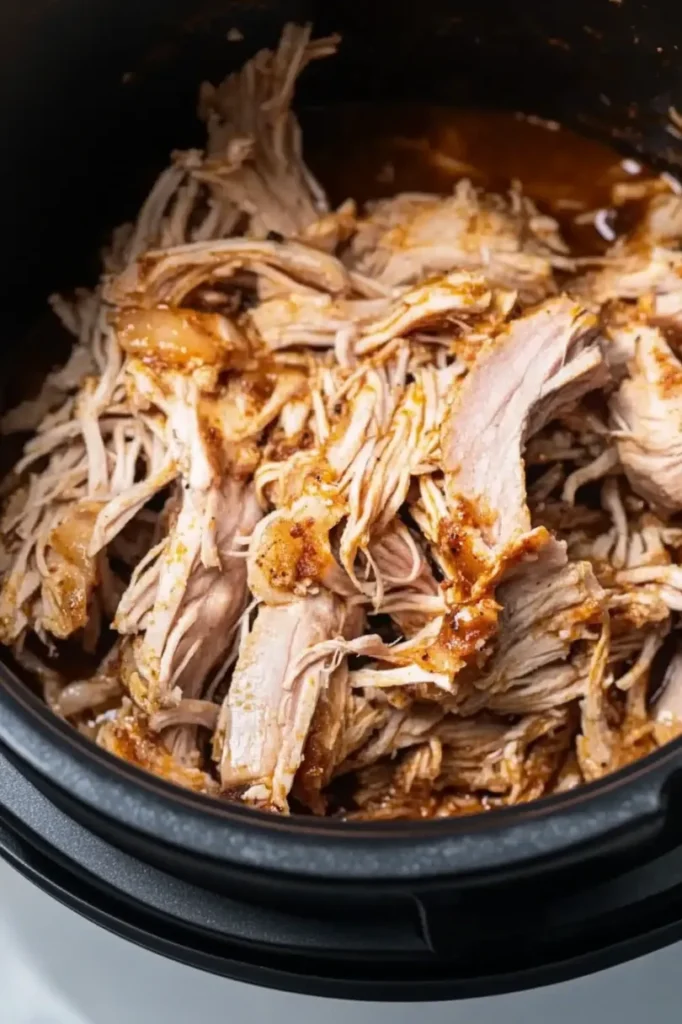
Instant Pot pulled pork transforms a traditionally slow-cooked favorite into an achievable weeknight meal without sacrificing flavor or tenderness. This pressure cooker method creates fall-apart, succulent pork in just a fraction of the time compared to conventional cooking methods.
Seasoned with a flavorful BBQ rub that infuses every bite, this versatile dish delivers that authentic pulled pork experience you crave. Perfect for sandwiches, tacos, or alongside your favorite sides, this recipe proves that convenience doesn’t have to compromise quality when it comes to creating mouth-watering barbecue at home.
Table of Contents
Why You’ll Love This Recipe
- Creates fork-tender pulled pork in about an hour instead of all day
- Requires minimal hands-on preparation with impressive results anyone can achieve
- Offers incredible versatility for multiple meals throughout the week
I discovered the magic of pressure cooker pulled pork after years of planning barbecue meals days in advance. The first time I served this to friends at an impromptu gathering, they were convinced I must have started cooking early that morning.
My brother-in-law, who prides himself on his traditional smoker technique, reluctantly admitted he couldn’t tell the difference between this quick version and his day-long process. Now this has become my reliable solution for last-minute dinner plans or meal prepping for busy weeks ahead.
Simple Ingredients
- Boneless pork shoulder (3-4 pounds): Often labeled as “pork butt” or “Boston butt” in stores, this cut contains ideal fat marbling for tender, flavorful results
- BBQ dry rub (3-4 tablespoons): Creates a flavorful crust and seasons the meat throughout with minimal effort
- Water or broth (1 cup): Generates the necessary steam for pressure cooking while adding subtle flavor
- Liquid smoke (1 teaspoon, optional): Adds that authentic smoked flavor without requiring an outdoor smoker
- Apple cider vinegar (2 tablespoons, optional): Cuts through richness while tenderizing the meat even further
Preparation Steps
Meat Preparation Trim excess fat from the exterior of the pork shoulder, leaving some for flavor and moisture.
Cut the meat into two equal-sized pieces to ensure even cooking throughout.
Pat the pork dry with paper towels to allow better adhesion of the dry rub.
Seasoning Application Apply BBQ dry rub generously over all sides of the pork, pressing it into the meat.
Allow seasoned meat to rest for 15-30 minutes if time permits for enhanced flavor penetration.
This brief resting time helps the seasoning adhere better and begins flavor development.
Browning Process Set Instant Pot to Sauté function and add a tablespoon of oil until shimmering.
Sear each piece of pork on all sides until a golden-brown crust develops, approximately 2-3 minutes per side.
While optional, this step creates deeper flavor through caramelization and is worth the extra few minutes.
Pressure Cooking Setup Pour water or broth into the pot and scrape any browned bits from the bottom with a wooden spoon.
Place the metal trivet inside the pot to elevate the meat slightly above the liquid.
Position seared pork pieces on the trivet without stacking for most even cooking results.
Cooking Process Secure the Instant Pot lid and set the valve to the sealing position.
Program for 60 minutes at high pressure for fork-tender pork that shreds easily.
Allow for a 15-minute natural pressure release before releasing any remaining pressure.
You Must Know
- The cooking time remains the same regardless of weight; it’s the thickness of the meat pieces that matters
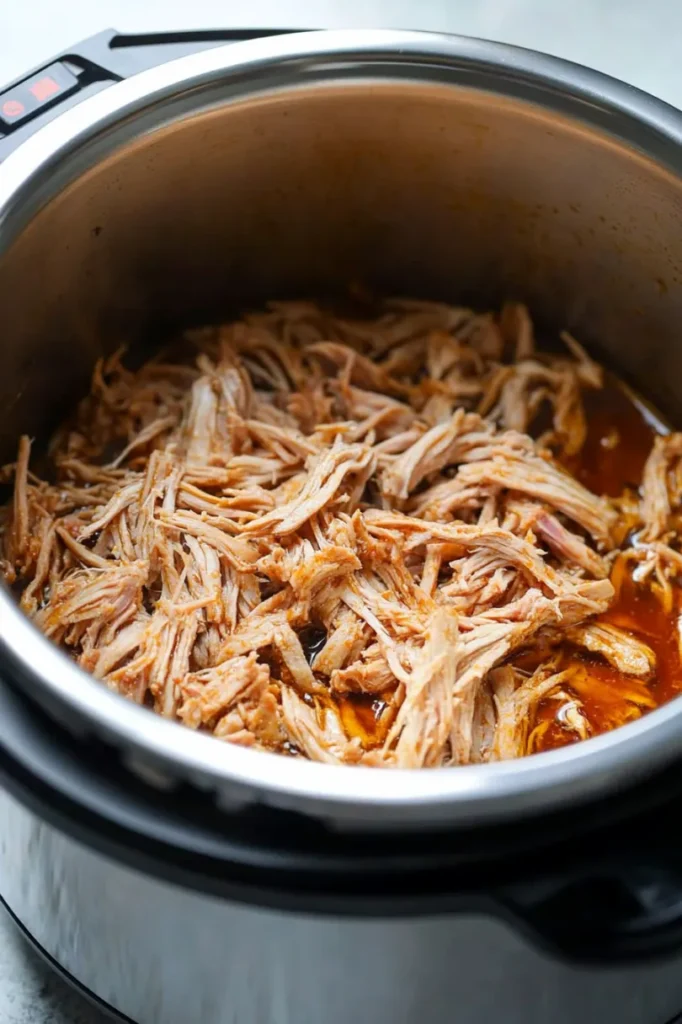
- Properly cooked pulled pork should easily shred with two forks; if resistance is met, simply cook 10-15 minutes longer
- Always check that the sealing ring is properly seated before cooking to ensure proper pressurization
I particularly appreciate how this recipe has transformed our family’s meal planning. My grandmother always emphasized that good food brings people together, and this pulled pork does exactly that without keeping me tethered to the kitchen.
When my daughter started softball, practice schedules made traditional weekend barbecues almost impossible. This pressure cooker method allowed us to maintain our family dinner tradition despite hectic weekday schedules. The look of surprise and delight on my children’s faces when they walk in from practice to the aroma of “weekend” barbecue on a Tuesday is absolutely priceless.
Serving Suggestions
This versatile pulled pork can be enjoyed in countless ways to create multiple meals from one cooking session.
Pile high on brioche buns with coleslaw and pickles for classic pulled pork sandwiches.
Stuff into warm tortillas with avocado, cilantro, and lime for quick street-style tacos.
Serve alongside baked beans, cornbread, and collard greens for a traditional barbecue plate.
Top baked potatoes or sweet potatoes with pulled pork, cheese, and green onions for a hearty meal.
Recipe Variations
Customize this basic recipe with simple adjustments that create entirely new flavor experiences.
Try a coffee-based rub for deeper, richer flavor notes that complement the pork beautifully.
Use pineapple juice instead of water in the pot for a Hawaiian-inspired pulled pork with subtle sweetness.
Add chipotles in adobo sauce to the shredded pork for a smoky, spicy Mexican-inspired version.
Experiment with different regional BBQ sauce styles after cooking for Carolina, Kansas City, or Texas variations.
Storage Solutions
Refrigerate cooled pulled pork in airtight containers where it maintains excellent quality for up to four days.
Portion into meal-sized amounts before refrigerating for quick and easy weekday lunches or dinners.
Freeze in freezer-safe containers or bags for up to three months for future effortless meals.
Add a small amount of cooking liquid or BBQ sauce before storing to help maintain moisture during reheating.
Thaw overnight in the refrigerator before reheating gently with a splash of liquid to restore original succulence.
Cooking Tips
- Allow meat to come to room temperature for 30 minutes before cooking for more even results
- Always deglaze the pot after sautéing to prevent the “burn” notice during pressure cooking
- For extra smoky flavor, add a drop of liquid smoke to the cooking liquid before pressurizing
My journey with this instant pot pulled pork began from necessity but evolved into a recipe that I genuinely prefer over traditional methods for many occasions. There’s something deeply satisfying about creating a dish that honors barbecue traditions while adapting to modern life’s realities.
What I treasure most about this recipe is its reliability and versatility. From last-minute dinner solutions to planned meal prep for busy weeks, this pulled pork delivers consistent, delicious results that please everyone from picky children to barbecue enthusiasts. The ease of preparation combined with the impressive outcome makes this a staple in our home that I return to time and again.
The rich aroma that fills the kitchen as the pressure releases reminds me that good food doesn’t always require all-day attention—sometimes the most satisfying meals come from working smarter, not harder. This pulled pork represents the perfect balance of honoring food traditions while embracing modern conveniences that make those traditions accessible even on our busiest days.
More Instant Pot Recipes

Instant Pot Pulled Pork
Ingredients
- 3-4 pounds | Boneless pork shoulder | For the main protein
- 3-4 tablespoons | BBQ dry rub | For seasoning
- 1 cup | Water or broth | For cooking
- 1 teaspoon | Liquid smoke | Optional for smoky flavor
- 2 tablespoons | Apple cider vinegar | Optional for tenderness
- 1 tablespoon | Oil | For searing
Instructions
- Trim excess fat from pork shoulder and cut into 2 equal pieces. Pat dry and season generously with BBQ rub.
- Set Instant Pot to Sauté function. Add oil and sear pork on all sides until browned.
- Add water or broth, liquid smoke, and apple cider vinegar to the pot. Scrape up browned bits.
- Place pork on the trivet in the pot. Secure the lid and set to high pressure for 60 minutes.
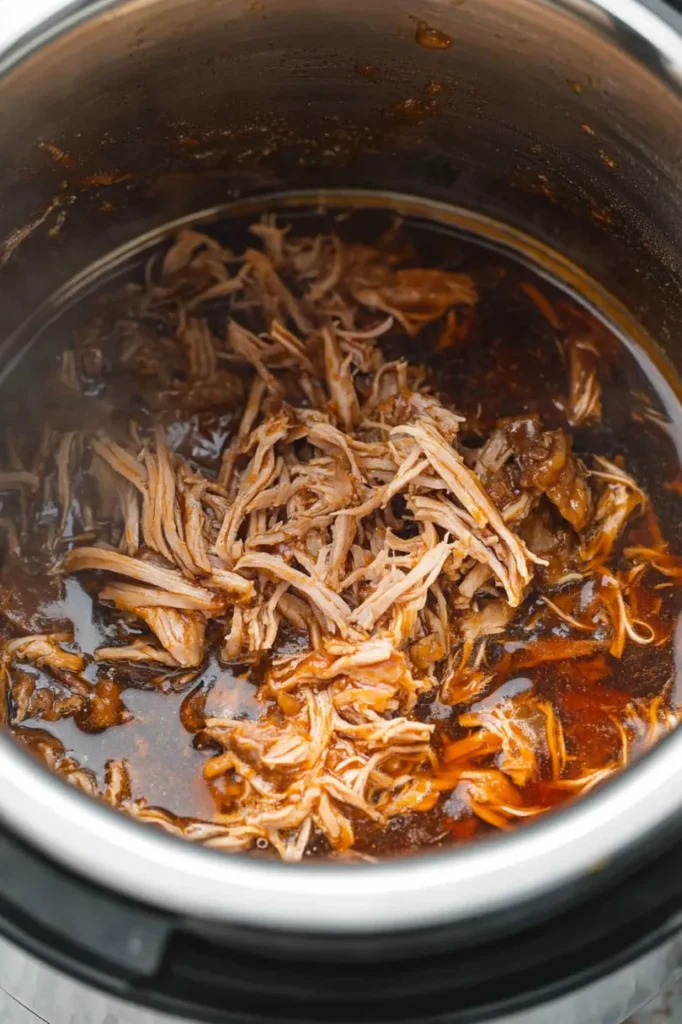
- Allow 15 minutes of natural pressure release, then shred the pork with forks.
- Serve with BBQ sauce or your favorite toppings.
Notes
- Store leftovers in the fridge for up to 4 days or freeze for up to 3 months.
- Use in sandwiches, tacos, or as a main dish with sides.
- Add BBQ sauce after shredding for extra flavor.