
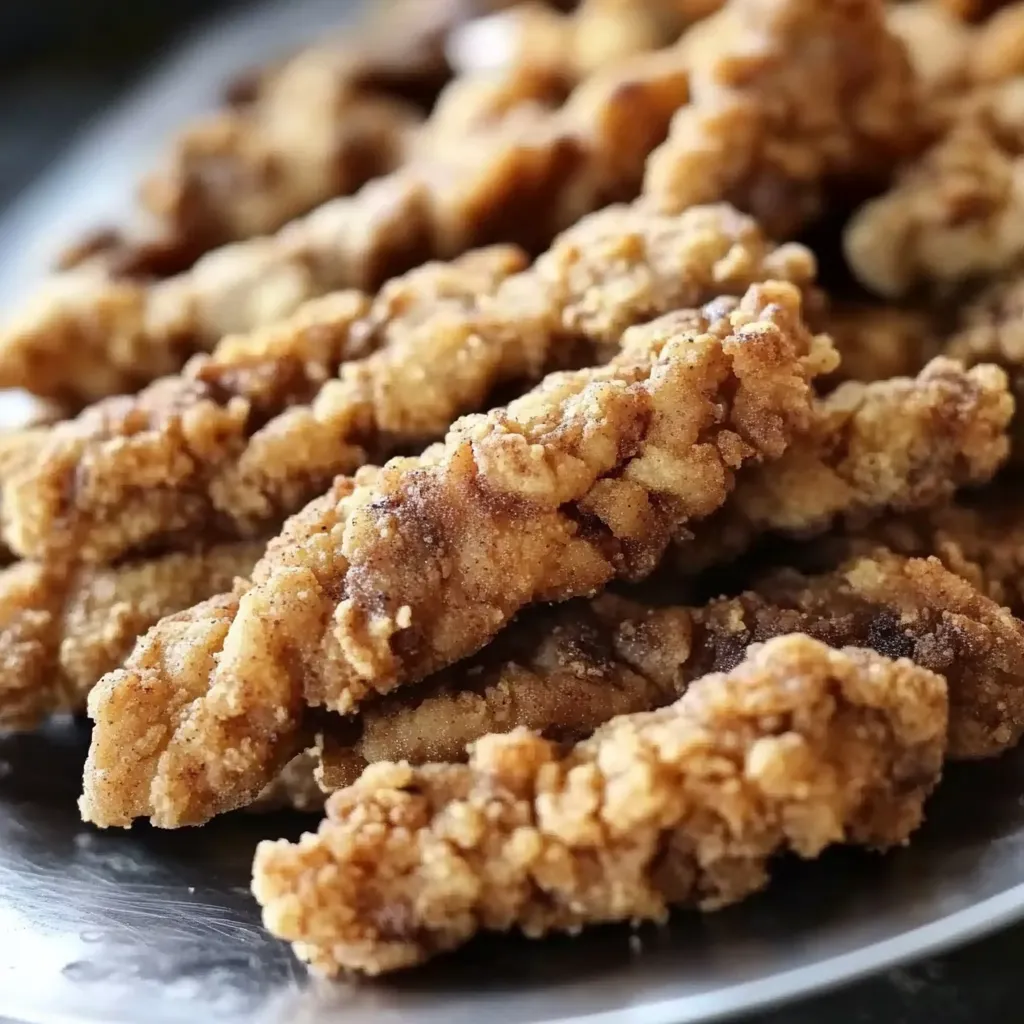
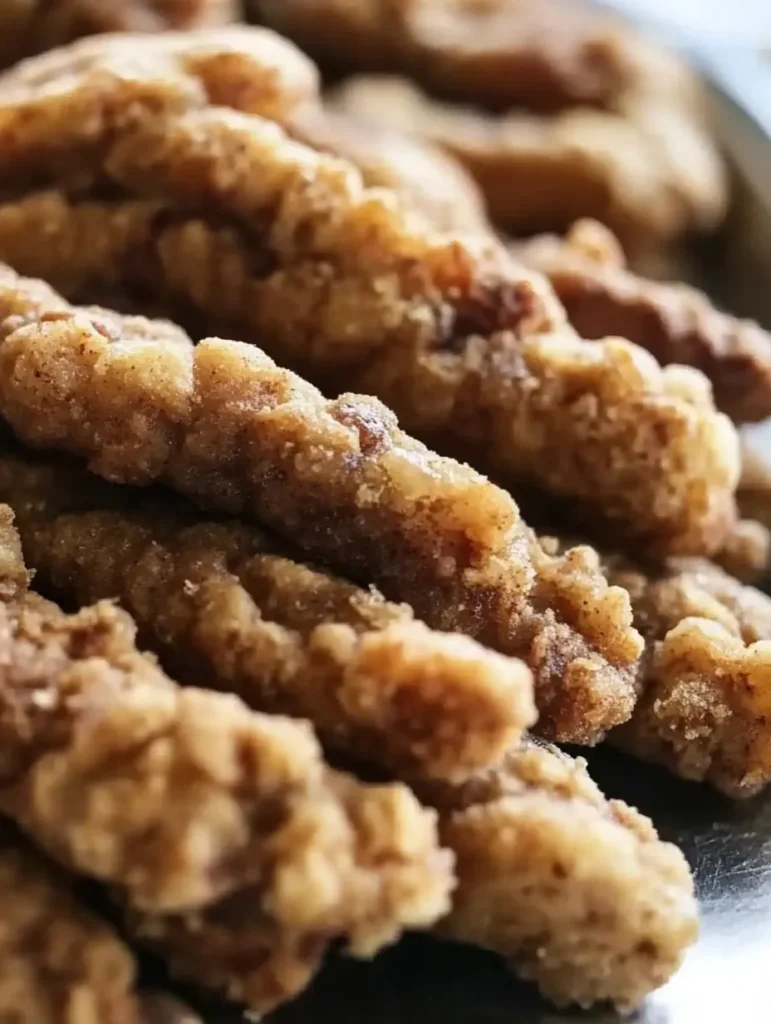
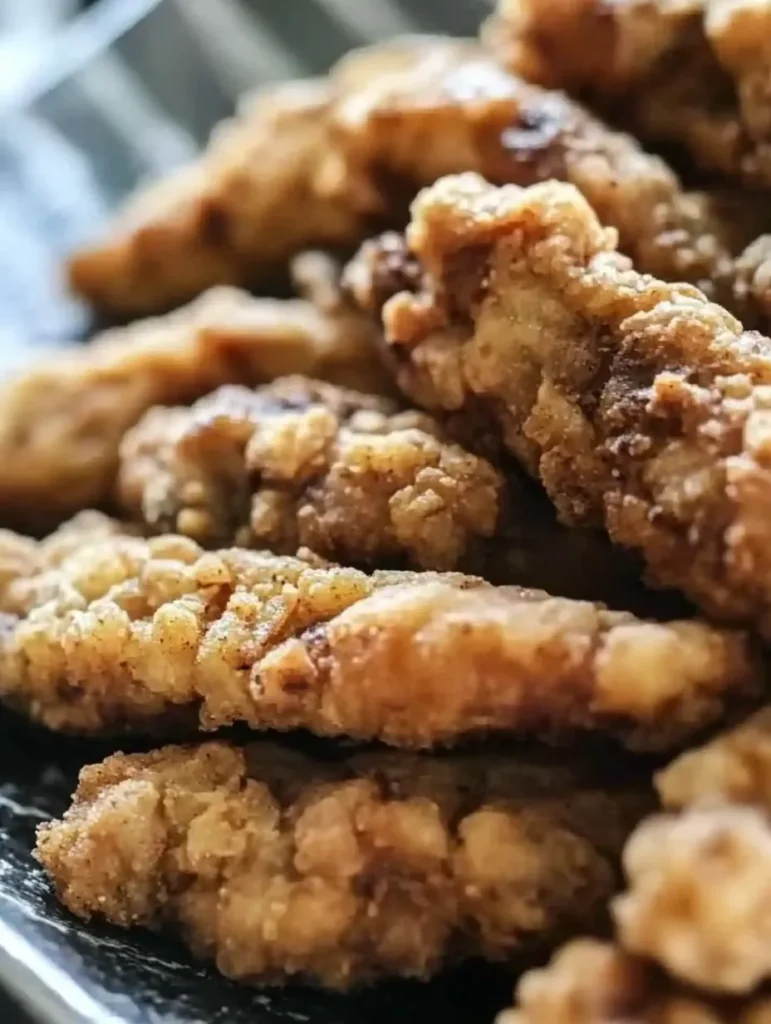
Growing up in Texas, chicken fried steak fingers were a staple at every local diner. When I went vegan, recreating that crispy, tender comfort food seemed impossible. But after countless experiments in my kitchen, I’ve perfected these plant-based chicken fried steak fingers that capture all the satisfying crunch and hearty texture of the original – just without the meat.
Table of Contents
Why You’ll Love These Chicken Fried Steak Fingers
These aren’t just any vegan fingers – they’re a game-changing recreation that will satisfy even the most dedicated comfort food lovers. Here’s why:
- Incredibly crispy coating
- Tender, meaty interior
- Perfect for dipping
- Kid-friendly
- Great for meal prep
- Freezer-friendly
- Better than fast-food versions
Key Ingredients for Chicken Fried Steak Fingers
The “Steak” Base
- 2 packages seitan, sliced into fingers
- 1 block extra firm tofu, pressed and sliced
- 1 cup vital wheat gluten
- 1/4 cup nutritional yeast
- 2 tablespoons onion powder
- 1 tablespoon garlic powder
The Coating
- 2 cups all-purpose flour
- 1 cup plant-based milk
- 2 tablespoons cornstarch
- 1 teaspoon black pepper
- 1 teaspoon paprika
- 1/2 teaspoon cayenne
- 1 teaspoon salt
The Gravy
- 2 cups plant-based milk
- 1/4 cup all-purpose flour
- 2 tablespoons vegan butter
- 1 teaspoon black pepper
- 1/2 teaspoon garlic powder
- Salt to taste
Let’s talk about why these ingredients matter. The combination of seitan and tofu creates that perfect meat-like texture, while the nutritional yeast adds a savory depth that makes these fingers irresistible.

Step-by-Step Instructions
Preparing the “Steak” Mixture
- Crumble the seitan and tofu into a food processor.
- Add vital wheat gluten, nutritional yeast, and seasonings.
- Pulse until just combined – don’t overprocess.
- Form into finger-shaped pieces about 4 inches long.
Setting Up the Coating Station
- Create three stations:
- Station 1: Seasoned flour
- Station 2: Plant milk mixture
- Station 3: Second batch of seasoned flour
- Season each station generously with salt and pepper.
Coating Process
- Dredge each finger in flour mixture.
- Dip in plant milk mixture.
- Coat again in flour mixture, pressing gently to adhere.
Cooking Methods
Traditional Frying
- Heat oil to 350°F (175°C).
- Fry 3-4 fingers at a time for 3-4 minutes until golden.
- Drain on paper towels.
Air Fryer Method
- Preheat air fryer to 400°F (200°C).
- Spray fingers with oil.
- Cook for 12-15 minutes, flipping halfway.
Making the Gravy
- Make a roux with vegan butter and flour.
- Gradually whisk in plant milk.
- Season and simmer until thickened.
Pro Tips for Perfect Chicken Fried Steak Fingers
After countless batches, here are my essential tips:
Do’s
- Let fingers rest after coating
- Maintain oil temperature
- Season each layer well
- Press coating firmly
Don’ts
- Don’t overcrowd the pan
- Avoid overprocessing the “meat” mixture
- Never flip more than once
- Don’t skip the resting period
Variations and Substitutions
These fingers are wonderfully adaptable:
Protein Options
- All seitan version
- Mushroom-based mixture
- Tempeh variation
- TVP blend
Coating Alternatives
- Gluten-free flour blend
- Cornmeal coating
- Panko breadcrumbs
- Spicy seasoning blend
Storage and Meal Prep
These store beautifully:
- Refrigerate up to 4 days
- Freeze for up to 3 months
- Reheat in air fryer
- Make gravy fresh
For meal prep:
- Form fingers ahead
- Store uncooked, coated fingers
- Prepare seasoning mixes
- Make extra gravy
Serving Suggestions
Transform these fingers into a complete meal:
- Classic: with mashed potatoes and gravy
- Sandwich style in a hoagie
- Over waffles
- With coleslaw
- Atop salad
- With sweet potato fries
Chicken Fried Steak Fingers FAQ
Q: Can I bake these instead? A: Yes, at 400°F for 20-25 minutes, flipping halfway.
Q: How do I keep them crispy? A: Don’t stack when cooling, and reheat in an air fryer.
Q: Can I freeze them? A: Yes, freeze after cooking and reheat from frozen.
Q: What’s the best oil for frying? A: Neutral oils like canola or vegetable work best.
Q: Can I make these gluten-free? A: Yes, but you’ll need to modify the “meat” base significantly.
These vegan chicken fried steak fingers have become my go-to recipe for impressing skeptical omnivores and satisfying comfort food cravings. They’re proof that plant-based cooking can recreate even the heartiest of traditional dishes. Give them a try, and let me know how they compare to your favorite diner version!

Chicken Fried Steak Fingers: The Ultimate Vegan Comfort Food
Ingredients
- For the “Steak” Base
- Amount Unit Name Notes
- 2 packages Seitan Sliced into fingers
- 1 block Extra-firm tofu Pressed and sliced
- 1 cup Vital wheat gluten
- 1/4 cup Nutritional yeast
- 2 tbsp Onion powder
- 1 tbsp Garlic powder
- For the Coating
- Amount Unit Name Notes
- 2 cups All-purpose flour
- 1 cup Plant-based milk
- 2 tbsp Cornstarch
- 1 tsp Black pepper
- 1 tsp Paprika
- 1/2 tsp Cayenne
- 1 tsp Salt
- For the Gravy
- Amount Unit Name Notes
- 2 cups Plant-based milk
- 1/4 cup All-purpose flour
- 2 tbsp Vegan butter
- 1 tsp Black pepper
- 1/2 tsp Garlic powder
- to taste Salt
Instructions
- Prepare the “Steak” Mixture:
- Crumble seitan and tofu in a food processor.
- Add vital wheat gluten, nutritional yeast, onion powder, and garlic powder. Pulse until combined.
- Form into finger-shaped pieces (about 4 inches long).
- Set Up the Coating Station:
- Create three stations: seasoned flour, plant milk mixture, and another batch of seasoned flour.
- Coat the Fingers:
- Dredge each finger in flour, dip in plant milk, and coat again in flour. Press gently to adhere.
- Cook the Fingers:
- Traditional Frying: Heat oil to 350°F (175°C) and fry 3-4 fingers at a time for 3-4 minutes until golden. Drain on paper towels.
- Air Fryer Method: Preheat to 400°F (200°C), spray fingers with oil, and cook for 12-15 minutes, flipping halfway.
- Make the Gravy:
- Melt vegan butter in a pan, whisk in flour to make a roux. Gradually add plant milk, whisking until thickened. Season with black pepper, garlic powder, and salt.
- Serve:
- Serve fingers hot with gravy on the side.
Notes
-
Storage:
- Refrigerate for up to 4 days.
- Freeze for up to 3 months.
-
Reheating:
- Reheat in the air fryer for best crispiness.
-
Variations:
- Use gluten-free flour for a gluten-free version.
- Add cayenne or chili powder for extra spice.
-
Pro Tips:
- Let fingers rest after coating for better adherence.
- Maintain oil temperature for even frying.
-
Common Mistakes:
- Overcrowding the pan can lower oil temperature.
- Skipping the resting period can cause coating to fall off.