
My journey with homemade body care began during a particularly tight budget month when my expensive store-bought scrub ran out, and I couldn’t justify spending $45 to replace it. Standing in my kitchen, I noticed the sea salt and olive oil sitting side by side on my counter and wondered if these simple ingredients could possibly work together. That experimental DIY sea salt scrub I mixed up that evening turned out to be so much better than anything I’d ever purchased that I’ve never gone back to commercial products.
Over the years, I’ve refined this DIY sea salt scrub recipe to create different variations for specific purposes. While there are plenty of homemade salt scrub for face recipes online, I’ve found that with a few adjustments to texture and essential oils, this base recipe works beautifully for both facial and body exfoliation. What started as a money-saving experiment has become my signature homemade gift for friends and family who constantly ask me to share my “secret formula.”
What are the benefits of olive oil and salt scrub? Beyond the immediate silky-smooth skin, this simple combination delivers powerful natural exfoliation while simultaneously nourishing and protecting your skin barrier. Unlike many commercial products filled with preservatives and synthetic fragrances, this DIY sea salt scrub uses ingredients so natural and pure you could literally eat them (though I don’t recommend it—save the olive oil for your salad!).
Table of Contents
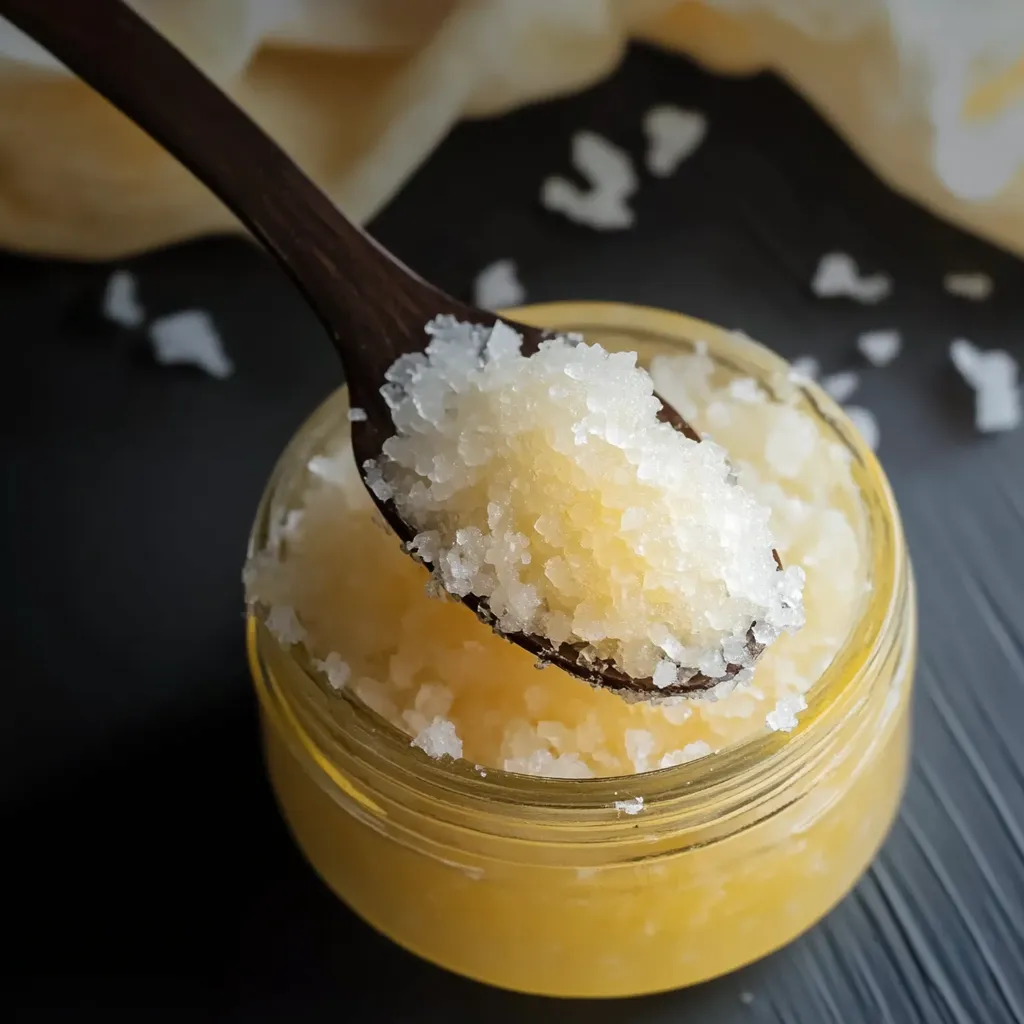
DIY sea salt scrub with olive oil – simple, natural ingredients for luxurious skincare
Why You’ll Love This DIY Sea Salt Scrub
This isn’t just another DIY beauty recipe—it’s a transformative self-care ritual that delivers professional spa results from ingredients already in your kitchen. Unlike many sea salt scrub recipes that leave a greasy residue, this carefully balanced formula exfoliates dead skin cells while delivering just the right amount of moisture.
What makes this DIY sea salt scrub special is its simplicity and adaptability. With just two main ingredients plus optional essential oils, you can create a customized scrub perfect for your specific skin needs. The base recipe works wonderfully on its own, but I’ll share variations that target everything from dull, tired skin to rough patches on elbows and heels.
Perhaps most importantly, this DIY sea salt scrub is completely natural and vegan. Commercial scrubs often contain hidden animal-derived ingredients or synthetic fragrances that can irritate sensitive skin. When you make your own, you have complete control over every ingredient, creating a truly clean beauty product that aligns with compassionate values.
DIY Sea Salt Scrub Ingredients
Basic Recipe Components:
- 1 cup fine sea salt – The exfoliating agent that removes dead skin cells; finer grains are gentler
- 1/2 cup extra virgin olive oil – Delivers moisture and antioxidants to nourish skin
- 10-15 drops essential oils (optional) – For natural fragrance and additional skin benefits
- 1 tablespoon dried herbs or zest (optional) – For visual appeal and additional beneficial properties
Ingredient Quality Notes for Your DIY Sea Salt Scrub:
- Salt selection: While table salt works in a pinch, fine sea salt contains minerals beneficial for skin and has a more pleasing texture. For body scrubs, you can use slightly coarser salt.
- Olive oil quality: Use the best quality extra virgin olive oil you can afford. The antioxidants and vitamin E in good olive oil provide significant skin benefits.
- Essential oil safety: Always use high-quality essential oils and research safety for your specific situation. Some oils are not recommended during pregnancy or for sensitive skin.
Instructions
Step 1: Select and Prepare Your Container
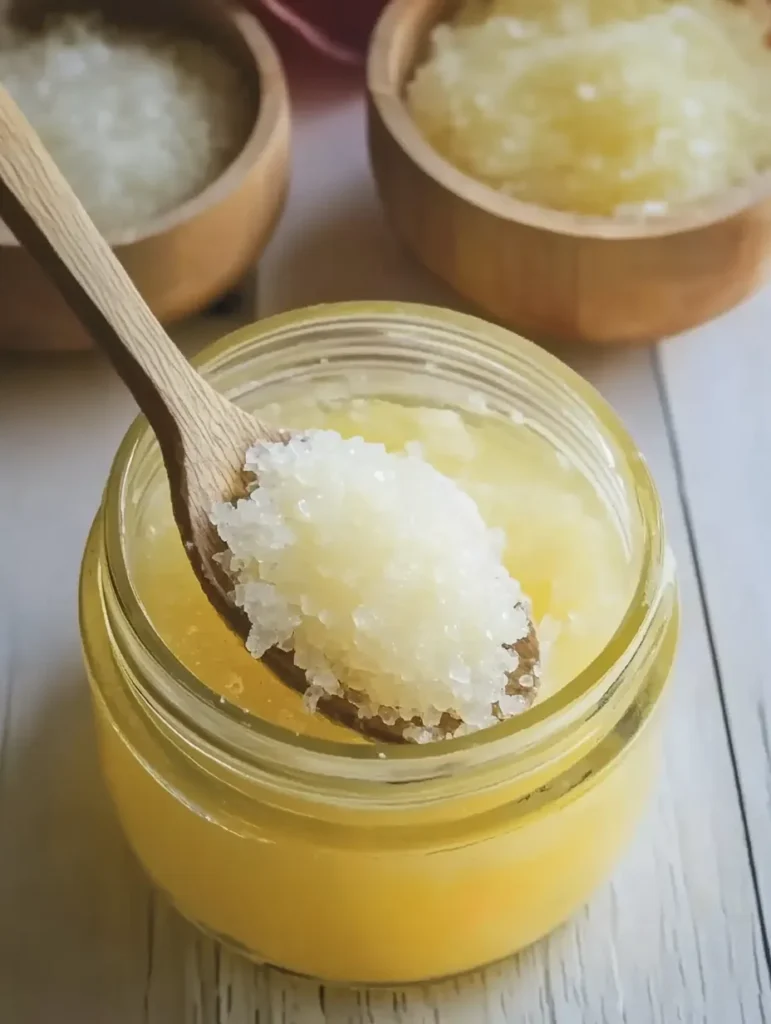
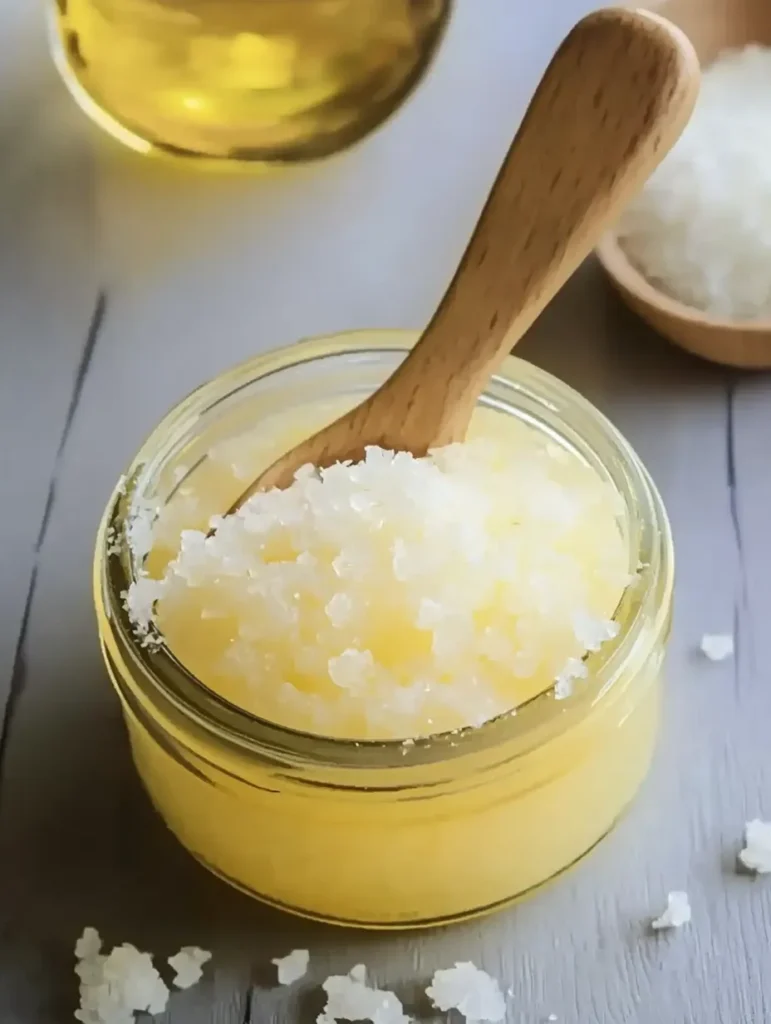
Choose a clean, dry container with a tight-fitting lid. Glass jars work beautifully, but any container that can be sealed against moisture is fine. I love upcycling pretty jars from pantry items for my scrubs. Make sure your container is completely dry to prevent any water from getting into your scrub, which could lead to bacterial growth.
Step 2: Prepare Your Salt
If your sea salt is very coarse, you may want to pulse it briefly in a food processor or coffee grinder to achieve a finer, more skin-friendly texture. This is especially important if you plan to use the scrub on your face or sensitive areas. For a body scrub, a slightly coarser texture provides more robust exfoliation.
Pour the salt into a mixing bowl—ceramic or glass works best as metal can sometimes react with essential oils.
Step 3: Add the Olive Oil
Slowly pour the olive oil over the salt while stirring gently. Continue stirring until the mixture resembles wet sand. The texture should be moist enough to hold together when pressed but not so wet that oil pools at the bottom. If needed, add more oil a tablespoon at a time until you reach the desired consistency.
The ratio of salt to oil can be adjusted based on your preference and skin type. Dry skin benefits from a slightly oilier mixture, while oily skin types might prefer a higher ratio of salt.
Step 4: Incorporate Additional Ingredients
If using essential oils, add them drop by drop while continuing to stir. Essential oils are potent, so start with fewer drops than you think you need—you can always add more. For a relaxing scrub, try lavender or chamomile. For an energizing blend, citrus oils work beautifully.
If incorporating dried herbs or zest, add them last and stir gently to distribute evenly throughout the mixture. Dried lavender buds, rose petals, or citrus zest not only look beautiful but add their own beneficial properties.
Step 5: Transfer to Container
Using a clean spoon or spatula, transfer your scrub to your prepared container. Press down gently to remove any air pockets. Leave about half an inch of space at the top to allow for any expansion or shifting during storage.
Seal the container tightly and label with the date and ingredients used, especially if you’re making multiple variations or giving as gifts.
Pro Tips & Common Mistakes
After making countless batches of salt scrubs over the years, I’ve identified several factors that make the difference between a good scrub and a truly exceptional one:
- The salt-to-oil ratio is crucial – Too much oil leaves skin greasy; too little doesn’t provide enough moisture. Start with the recipe ratio and adjust to your preference.
- Test texture before packaging – The perfect scrub should hold together when pressed but break apart easily when rubbed between fingers.
- Essential oil caution – More is not better! Excessive essential oils can irritate skin. Start with half the recommended amount and increase gradually.
- Keep water out – Always use a completely dry spoon to remove scrub from the container. Water introduction leads to bacterial growth.
- Patch test new ingredients – Especially when using on your face, always test a small amount on your inner arm first to check for sensitivity.
Variations and Substitutions
- Gentle Facial Version: Use fine salt or even sugar instead of sea salt, increase olive oil slightly, and add 1 teaspoon of honey for added moisture and antibacterial properties.
- Energizing Morning Scrub: Add 1 tablespoon of fresh coffee grounds and 10 drops of peppermint or citrus essential oil.
- Calming Lavender Blend: Add 1 tablespoon dried lavender buds and 10 drops lavender essential oil.
- Brightening Citrus Scrub: Add 1 tablespoon orange or lemon zest and 10 drops of matching citrus essential oil.
- Extra Moisturizing Formula: Substitute one-quarter of the olive oil with coconut oil or shea butter for extremely dry skin.
Storage Instructions
- Shelf Life: When properly stored, this scrub remains fresh for 3-6 months. The olive oil eventually can go rancid, so use your nose as a guide—if it smells off, it’s time to make a fresh batch.
- Storage Location: Keep in a cool, dark place away from direct sunlight and moisture. A bathroom cabinet (not the shower itself) is ideal.
- Preservation Tips: Adding vitamin E oil (about 1/2 teaspoon per cup of scrub) can extend shelf life by preventing oil oxidation.
- Travel Considerations: If taking on trips, secure with tape and place in a sealed plastic bag to prevent leakage.

Usage Suggestions
- For Body: Apply to damp skin in circular motions, focusing on rough areas like elbows, knees, and heels. Rinse thoroughly and pat dry.
- For Face: Use a gentler variation with finer salt or sugar. Apply with extremely gentle pressure in small circular motions, avoiding the eye area. Rinse thoroughly.
- Pre-Shaving Treatment: Apply before shaving for an incredibly close shave and to prevent ingrown hairs.
- Hand Treatment: Keep a small jar by the kitchen sink to restore moisture after dishwashing or gardening.
- Self-Care Ritual: Once weekly, apply from head to toe, followed by a warm bath for a complete spa experience.
Recipe FAQ
Q: Can I use this salt scrub on my face? A: The basic recipe is generally too abrasive for facial skin. For a facial version, use fine salt or sugar, increase the oil ratio slightly, and avoid fragrances if you have sensitive skin.
Q: How often should I use this scrub? A: For body exfoliation, 1-3 times weekly is ideal. Facial exfoliation should be limited to once weekly for most skin types.
Q: Will the olive oil clog my drains? A: When used in normal amounts, it shouldn’t cause problems. As a precaution, run hot water down the drain after use. If you’re concerned, you can also stand on a washcloth in the shower to catch excess oil.
Q: My scrub has hardened. How can I fix it? A: This happens if too much moisture evaporates. Simply mix in an additional tablespoon of olive oil to restore the texture.
Q: Is this suitable for sensitive skin? A: It depends on your specific sensitivities. Start with a patch test, use finer salt, and avoid essential oils if you’re prone to reactions. Consider substituting olive oil with jojoba if olive oil doesn’t work for your skin type.
This sea salt & olive oil scrub has become my signature self-care ritual, transforming ordinary showers into spa-like experiences. The combination of natural exfoliation and nourishing oil leaves skin with a healthy glow that lasts for days. Beyond the physical benefits, there’s something deeply satisfying about creating effective body care from simple, recognizable ingredients. Whether making it for yourself or as a heartfelt gift, this recipe proves that sometimes the simplest combinations deliver the most remarkable results.

Luxurious DIY Sea Salt & Olive Oil Scrub
Ingredients
- For the Basic Scrub:
- 1 cup fine sea salt
- 1/2 cup extra virgin olive oil
- 10-15 drops essential oils (optional)
- 1 tablespoon dried herbs or zest (optional)
Instructions
- Choose a clean, dry container with a tight-fitting lid.
- Pulse sea salt in a food processor if too coarse. Pour into a mixing bowl.
- Slowly add olive oil while stirring until the mixture resembles wet sand.
- Add essential oils and dried herbs or zest (if using). Stir gently to combine.
- Transfer to the container, press down gently, and seal tightly.
Notes
- Store in a cool, dark place for 3-6 months.
- For sensitive skin, use finer salt or sugar and avoid essential oils.
- Use a dry spoon to scoop out the scrub to prevent contamination.